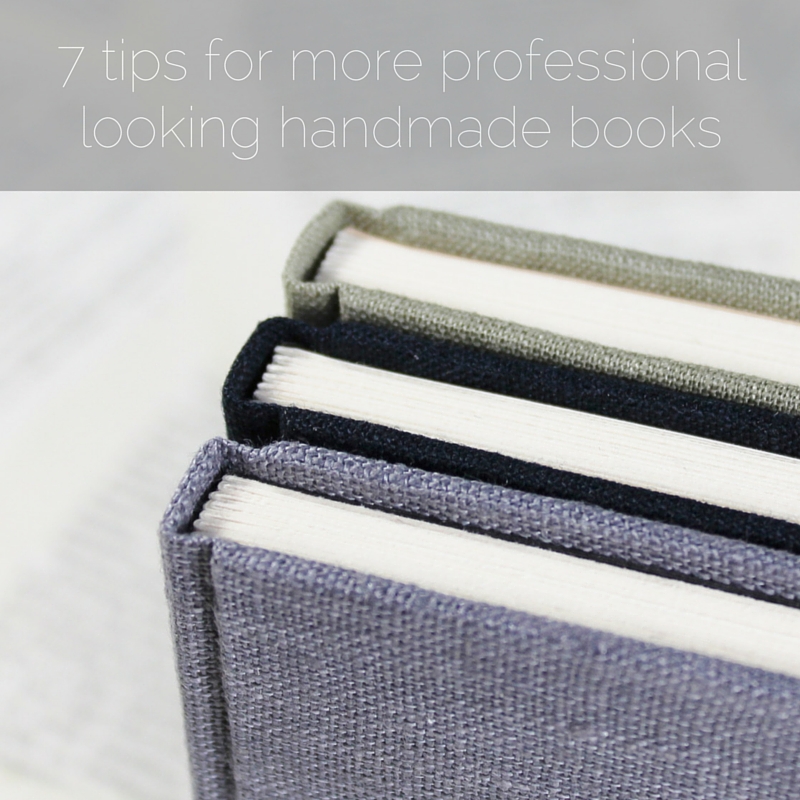
The Internet is full of different types of bookbinding tutorials - some more detailed than others, some written by bookbinders and some by enthusiastic hobbyist. What they usually have in common that they still focus on giving out instructions for one specific project. Today I hope to give you a few very basic tips you can apply to many different types of bookbinding projects and create more professional books yourself. Some of my tips are very detail oriented, but details are crucial to creating a balanced whole. The title promised you seven tips, but you get some sidetrack extras, too. As I began planning this blog post it also came to me that I could do a Q&A / Office Hours on Instagram every once in a while. In the comments you could ask me questions about bookbinding, tips on what you could focus on next on your own bookbinding journey, or whatever questions you may have about me or my work. Let me know if you like the idea and I'll set something up!
Now, on to the tips!
The Grain Direction
Do not ever think you can get away with using paper or board with the grain direction not running parallel with the spine. Even paper-backed book cloth has a grain direction you should take into account. (The worst place for a wrong grain direction is in the endpapers of a case bound book. It will be ugly, trust me.) Grain direction is the foundation of bookbinding, and its importance can never be brought up too much.
Least Effort Usually Gives the Best Results
Overworking will result in a book that looks overworked, it's that simple.
A while ago I had a chat with my hairdresser, who is endlessly blown away by crafty people despite being super talented with scissors and hair herself. She complained how all her origami turned out looking terrible regardless of her following each step to a T. I instantly asked whether or not she carefully went over each fold and creased them sharp over and over again. Of course she did! But that's the problem! Sharpening a crease several times can begin to stretch the paper fibres away from one another, and the end result won't look as good as it would if each fold was done well the first time and then left alone. This principle goes for every step of bookbinding, too (and of probably every other craft). Do it well the first time and move on.Paying excessive attention to any area will only result in that area looking overworked once finished. Usually the area you want to keep working on is a problem area, and that's definitely not the area you want to be the focal point of the finished book! So, if it's not outright disastrous, just let it be. And next time, do it better on the first try.
Appropriately Sized Glue Brushes + The Cycle of Glue
If you glue large surfaces using a tiny brush, there's a chance you'll end up with that overworked look. Also, your glue begins to dry where you began before you've finished glueing the rest. Using a brush that's too large on small details will result in too much glue (who would've guessed that?). Too much glue means soaking wet materials and glue in all the wrong places. It's a good idea to keep at least two sizes of glue brushes at hand any given time.
I also have two glue jars - one for sticky glue, one for easy to spread glue. I have big glue pot from which I fill my smaller container, as I don't want to keep that big pot open whilst glueing for long periods of time. It would just dry out for no good reason. If I'm glueing larger surfaces I use slightly thinned down glue, but I like to use that thicker, stickier glue for assembling boxes or sticking down small details without wasting too much time waiting for the glue to dry afterwards. Eventually my sticky glue jar will get too sticky, or just dry out (there's never much in it anyway), but by that time the jar with what's left of the thinner glue will have thickened up enough to become the new sticky jar, and I can replace the old dried out glue with fresh thinned glue. Constant cycle of glue jars. Not sure how professional this approach to glue is, but it works great for me! I use Planatol BB bookbinding glue, but most PVA glues behave the same way.
Folding Sheets for Signatures
Do you fold your pages in half individually? Do you press down each fold with your bonefolder as you go? Don't. It's not the best way to go about folding signatures. If you're bold enough (or plan to trim the edges of your book after sewing and getting super neat edges at this stage is irrelevant), fold all sheets in a signature at once. This way the sheets mold around one another, the fold becomes a more solid whole, and the paper fibres go through the least possible amount of stress. If you fold your pages one at a time and make those folds really crisp the sheets can't snuggle up as closely at the fold. If folding several sheets of paper at once is a terrifying thought, you can still fold them individually - just do it very lightly, gather the sheets into signatures, and only then press down those folds firmly with your trusty bonefolder.
I did that fancy drawing above just for you. I wanted to show you how the sheets snuggle up. Sorry, my drawing skills aren't quite up to par with my books.
Cover Board Thickness vs. Spine Thickness
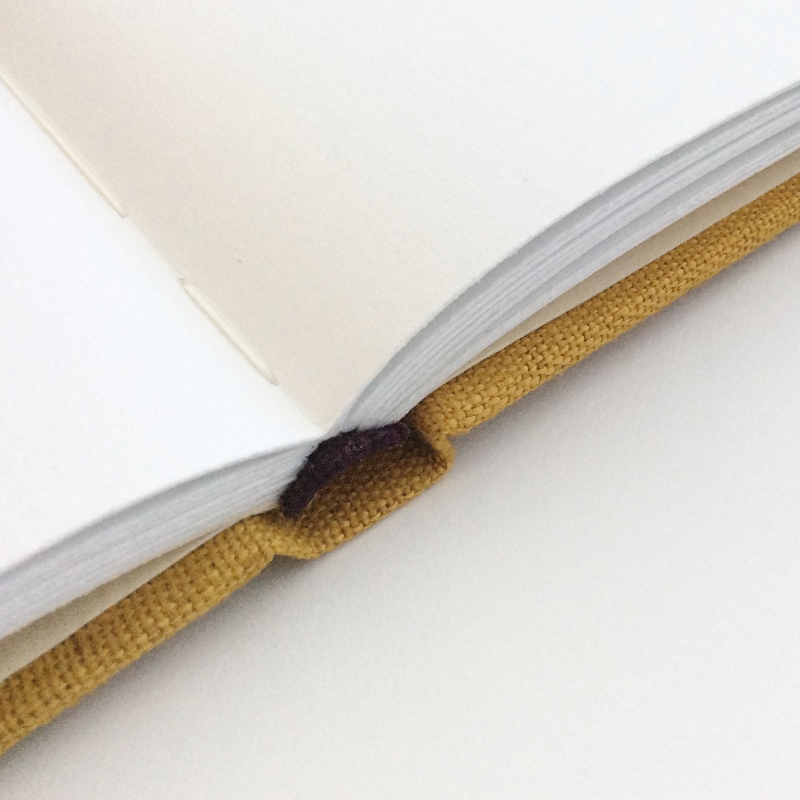
For a more professional looking case bound book make sure to use lighter cardstock for your spine strip. The board you use for the covers is much too thick for the spine, but it's something I see a lot when perusing Pinterest and Instagram. Using the same board for the spine and covers throws off the visual balance. 0,5-1mm is the range of thicknesses I usually consider decent spine material. You can even cut up an empty cereal box to be used for spines, so having suitable thickness cardstock readily available shouldn't be a problem for anyone (You don't eat cereal, you say [me neither!] - then use some other lightweight box material.). The spines on my books aren't cut from boxes, though, I usually order big sheets of board in different thicknesses from Modulor. I love Modulor, they're great. And I didn't get compensated for saying so.
Squares + Correct Order of Turn-ins
Squares? You know how case bound books almost always have their covers slightly larger than the pages? That little ledge of covers extending beyond the book block is called the square. Ideally your fore edge square is slightly wide than the top and bottom square (which should be the same). Half a millimetre can be enough to make a book aesthetically more pleasing and balanced. This is a tiny detail, but hey, professional looking books are made with great attention to detail! Proportions are very important. The width of nice looking squares (and the thickness of cover boards) depends on the size of the book, so try to keep that in mind. 2mm at the top and bottom edge + 2,5-3mm fore edge square is great for a smallish book, but it would be way too little for a large family Bible.
As a bookbinding student I learned there's only one correct order to do turn-ins on a book cover, and I still follow that order with no exceptions. Head and tail turn-ins are done first regardless of the shape of the book; short and long sides play no role here. The fore edges are done last, so the topmost turn-in edge at the corners ends up facing away from the fore edge. There's a reasoning behind this logic - the fore edge of the book is the edge that is handled the most, so it must also be the most finished one. Restless fingers could easily begin undoing the corner turn-ins while reading without even noticing if the cover materials laid there the opposite way.
Neater Punched Holes
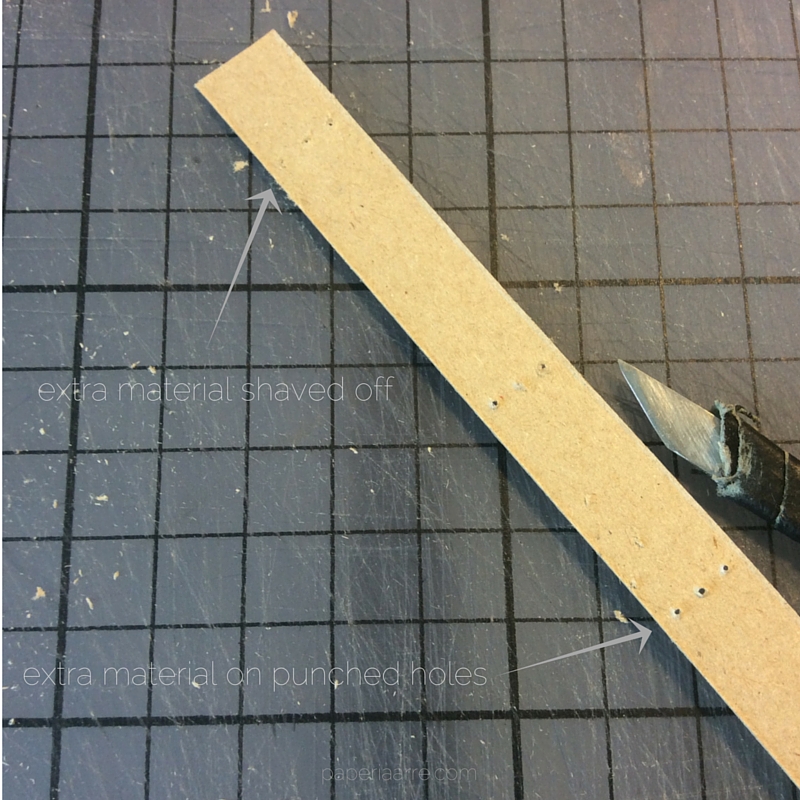
Many bookbinding structures require you to punch holes into your cover material - either on the covers like in Coptic bound books, or on the spine strip like in long stitch bindings. If you aren't used to using a hole punch (one that actually removes material) instead of piercing the board with an awl or a needle, you're surely familiar with that lump of excess material forming on the reverse side. Do take the time to get rid of it. It's extra work, but doing it makes your holes so much neater.
Here's how I deal with punched holes:
I always, always punch holes before covering the boards. I punch them from outside in and shave off the extra material with a small knife. Then I proceed to attach the covering material onto the right side and lightly prick through the holes still visible on the board reverse. I flip the cover over and use my awl to fully pierce the cover material where the prick marks are. If the reverse side is also covered before stitching, I repeat that light prick + awl piercing from the opposite direction. By doing this I make sure that the excess material from punching the covering materials ends up hidden in the punched hole, instead of creating a visible burr on the outside. This may seem like a really complicated series of steps, but it really isn't once you get the hang of it. I always get compliments how neat the stitching on my long stitch bindings is, and this is really the biggest secret behind it (the other one is creating good punching templates).
That's all for now. I hope you found this post useful! Maybe I'll share more practical tips at the Q&A session, if enough people are interested for it to make sense for me to set one up! Q&A sessions would make more sense than answering individual questions privately as they come, because that way other people could also benefit from the questions you asked.


